Taking Screenshots |
  
|
Taking Screenshots |
|
Screenshot can be taken from both Cameras and Local Video Files to PNG or JPG output formats.
![]() IMPORTANT. If Image Enhancement and/or De-warping capabilities were initially applied to the exported source, they will be retained while rendering the screenshot.
IMPORTANT. If Image Enhancement and/or De-warping capabilities were initially applied to the exported source, they will be retained while rendering the screenshot.
To take Screenshot from a video:
1.Select the desired Item on Scene.
2.Seek to the desired position (frame seek will help). See "Navigating through Archive and Live".
3.Click the ![]() button on the item.
button on the item.
4.Choose the desired file name and location and click Save (Cancel will close the dialog and data will not be saved):
![]() Note: check Include Timestamp to insert playback time in the screenshot (enabled by default).
Note: check Include Timestamp to insert playback time in the screenshot (enabled by default).
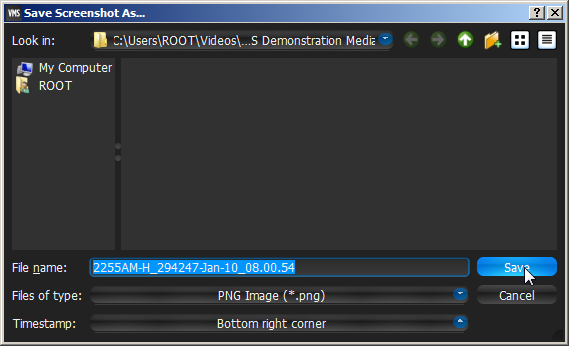
It is possible to place timestamps on screenshots (use Timestamps dropdown list).
File and folder operations are performed in the same manner as in Windows Explorer.
Once saved, Screenshot will be available in Local Files within Resource Tree:
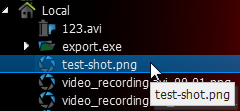
![]() IMPORTANT. This resource will be available until Client restarts. To make it available permanently, save the exported video in the qulu Media Folder (see “Configuring Media Folders”) or create and save a Layout that would contain this video.
IMPORTANT. This resource will be available until Client restarts. To make it available permanently, save the exported video in the qulu Media Folder (see “Configuring Media Folders”) or create and save a Layout that would contain this video.